
Preferences > Buffer Size
Note: This feature is nonfunctional when used with serial port instrumentation.
Allows you to specify the size of input buffer needed for gap-free data recording at the maximum sample rate. By setting buffer size, you can specify the correct amount of memory for acquiring data gap-free at your computer’s maximum sample rate while simultaneously running your usual applications.
The input buffer is where the acquired data is temporarily stored. If the ratio of sample rate to buffer size is too small, the sample rate in the status bar is shown in reverse video. This is a warning that you may not be able to reliably store data to disk. To find the correct input buffer size, refer to the Streaming Data to Disk flow chart in Different Ways of Allocating Memory.
The current size of the buffer can be seen in the Sample Rate dialog box.
The amount of buffer space allocated is automatic, proportional to the sample rate, and generally not in need of manual adjustment. Manual allocation of buffer size is generally only needed when the sample rate is displayed in reverse video (see Different Ways of Allocating Memory), when multitasking with many applications, or when you wish to allocate a large input buffer at a low sample rate (to accommodate slow computers).
Specify a buffer size.
![]() In
the Preferences sub-menu click
on Buffer Size….
In
the Preferences sub-menu click
on Buffer Size….
![]() Choose
Edit Preferences Buffer Size… (ALT, E, P, B).
Choose
Edit Preferences Buffer Size… (ALT, E, P, B).
This displays the buffer size dialog box.
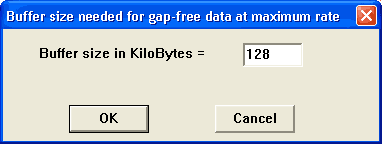
Enter in the text box the desired buffer size. When the desired buffer size is entered click the OK button or press the Enter key to close the dialog box.